Exporting Figma Views to Flutter: A Practical Guide
Potential for code presentation and export
Several features make the platform ideal for code presentation and export.
As mentioned above, it allows you to create interactive layouts that resemble a working prototype. It can be beneficial to show developers how the application should work before they start writing code.
- Exporting designs: It is possible to exports designs in many formats, including PNG, JPG, SVG, PDF, and other standard file formats. It makes it easy to export your creations to other programs and tools.
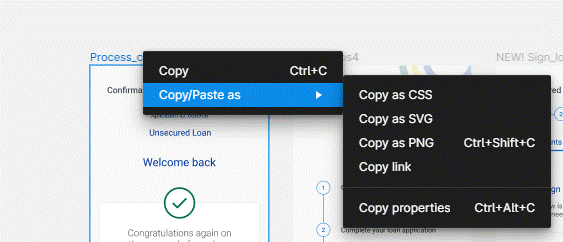
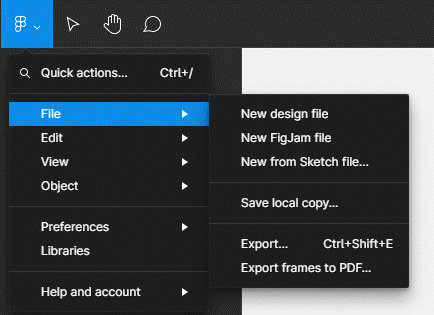
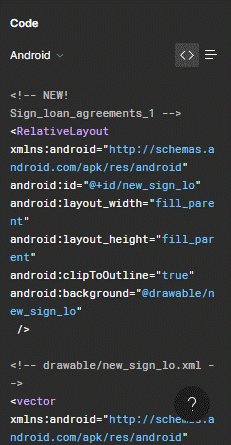
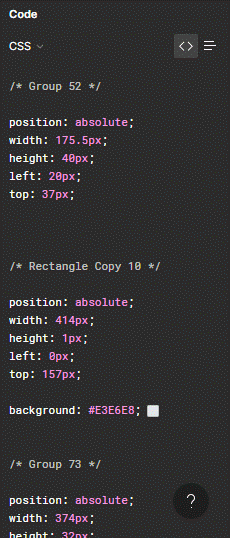
- Code export: It also allows you to export the CSS code of your designs. You can take the generated code from Figma and use it in your web development project.
Recommended communication flow for the most efficient use of Figma
To use the program most efficiently, having a solid communication flow is essential. Here are some tips:
- Define team roles: All team members must understand their roles and responsibilities in the design process. It will avoid duplication of effort and ensure everyone works in the right areas.
- Set clear objectives: Clearly define the project objectives and communicate these objectives to the entire team. It will ensure that everyone is working towards a common goal and that the project is moving in the right direction.
- Constant communication: Communicate constantly with your team to ensure everyone is on the same page. Use communication tools like Slack or Zoom to keep communication fluid and effective.
- Team Design Review: It is possible to schedule team meetings to discuss the work done. It will help ensure all team members agree or not with the designs and address any issues before coding.
- Real-time feedback and reviews: Use Figma’s feedback feature to provide real-time feedback and reviews. It will help speed up the design process and ensure all team members are on the same page.
How do I use Figma in Teams?
Microsoft Teams provides integration capabilities. This allows users to share designs and prototypes in Teams channels and conversations. This makes it easier for teams to collaborate on design and application development projects.
To use it in Teams, you must first link the active Figma account with your Microsoft account. Then follow these steps:
- Open Teams and select the channel or conversation you want to share your Figma design.
- Click the “+” button to add a new tab.
- Find and select “Figma” in the list of options.
You will be prompted to log in to your Figma account or authorize the integration.
- Once logged in, you can select the Figma file you wish to share and customize the Figma tab settings.
- Click “Add” to add the Figma tab to your channel or conversation.
Once you have added the Figma tab, you can view and share designs and prototypes directly in Teams. Using the commenting feature, you can collaborate in real-time.
Please note that you need to have a paid subscription to use the integration in Teams. You don’t need to use the full version of the program to share files in Teams. The free version is sufficient.
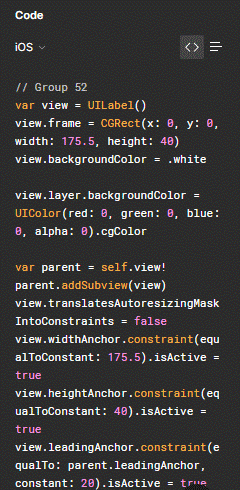
A practical example of how to export the code of a Figma view to Flutter for a mobile application:
- Designing the view in Figma: We start by creating the view in the tool. It can include anything from the layout of the elements on the screen to the colors and fonts used.
- Install the Flutter plugin in the platform: It is necessary to export the view code from Figma to Flutter. To do this, we must go to the plugins section in Figma and search for the Flutter plugin. Then, we need to install and activate it.
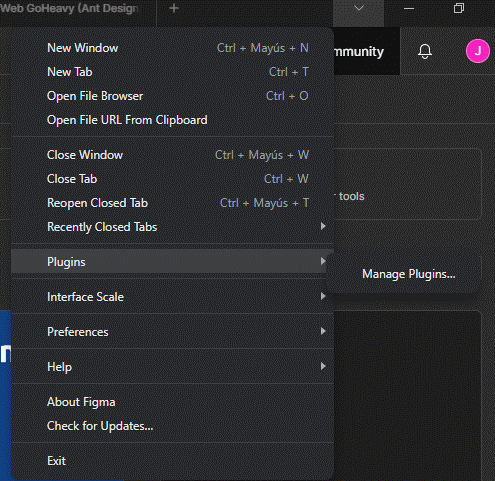
- Select the view in Figma. Install the Flutter plugin. Click the “Code” button in the top toolbar. Export the code. A drop-down menu will open, allowing us to select the type of code we want to export. In this case, we choose “Flutter.”
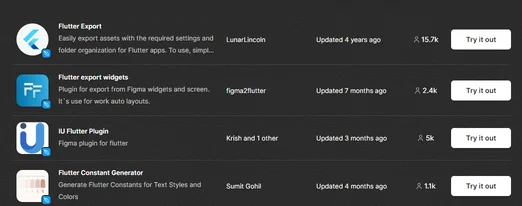
- Select Flutter as the type of code to export. Click the “Download” button. This will download the code file generated by Figma. This file will contain all the code needed to create the view in Flutter.
- Once the code file has been generated by Figma it can be integrated into a Flutter application. The downloaded code can be easily copied and pasted into the relevant file in the Flutter project. To further optimize the code and improve the scalability of the view, there are third-party tools that can be used. One such tool is the Flutter SVG plugin. This plugin can be leveraged to enhance the view and create a more engaging user experience.
- Customize and enhance the view: After integrating the code into our Flutter application, we can customize and improve the view according to our needs. We can change the colors, fonts, and other details of the view and add interactivity and animations.
With these steps, we can export the code from a Figma view to Flutter and use it to create a view in our mobile app.
The integration of these tools makes the design and development process faster and more efficient, allowing us to develop high-quality applications in less time.
Not only can you make unique integrations with Flutter, but I also invite you to read about what you can do with Ant Design in the third part of this article series!


